Updating VMware vCenter Server: A Step-by-Step Guide
In this post I will be walking through how to update vCenter Server and the importance of it.
10/29/20242 min read
Conclusion
And there you have it! Keeping your vCenter updated not only freshens your feature set but also enhances security. Happy upgrading!
Introduction
Hey there! If you’re here, you’re probably looking to upgrade your VMware vCenter Server to the latest version. Don’t worry; you’re not alone! Today, we will walk you through the steps to ensure your upgrade is smooth and successful.

Pre-Upgrade Considerations
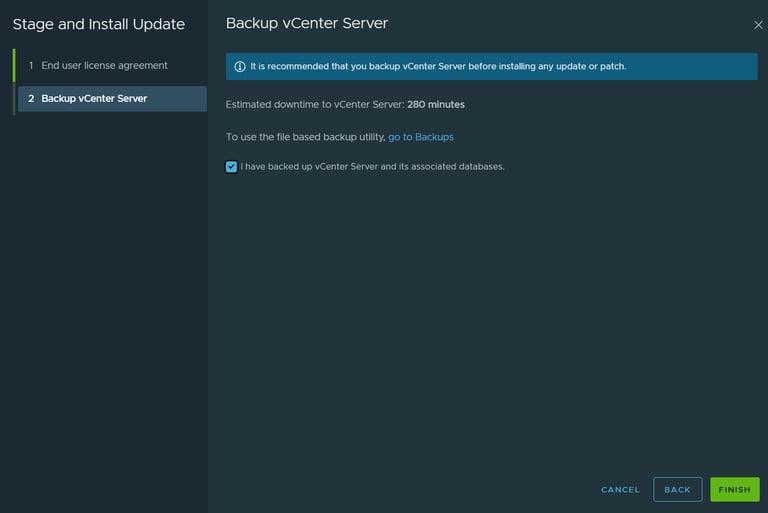
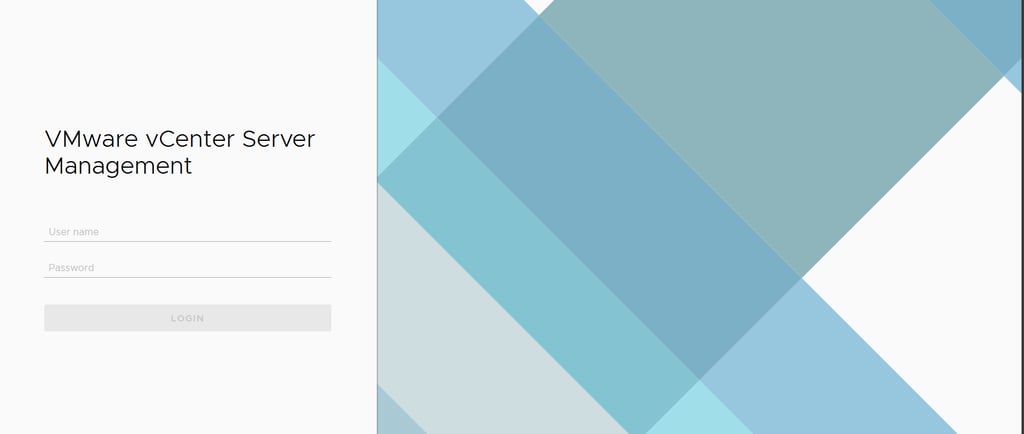
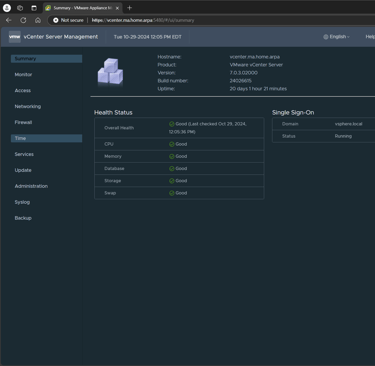
Before diving headfirst into the upgrade, let’s take a moment to prepare. First things first, check your current vCenter version by logging into https://yourvcenter:5480 as root and then your password. Note: Always back up your vcenter server before upgrading. This will save you heaps of trouble in case anything goes wrong during the upgrade process.

As you can see here we have an NFS backup that was created earlier this morning can we can use as a restore point should we need it.
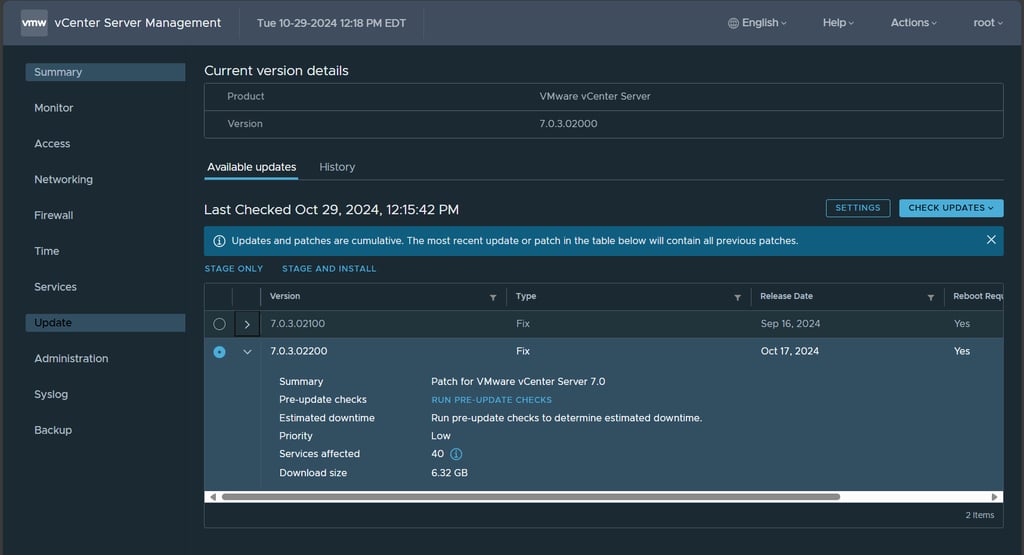
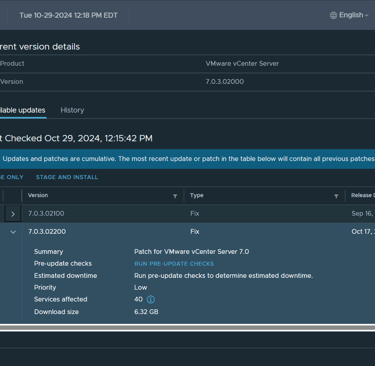
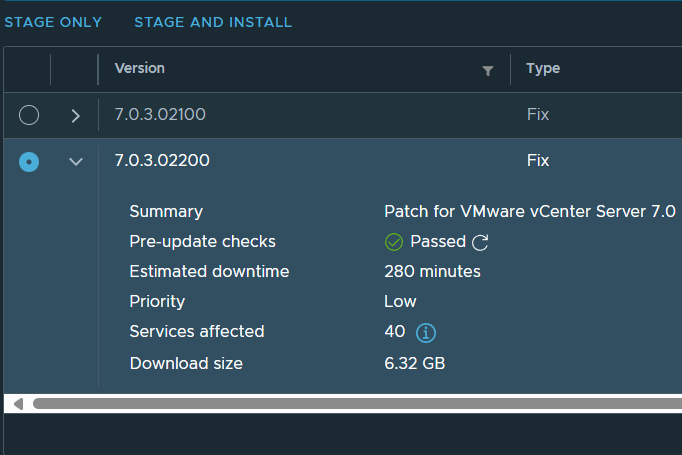
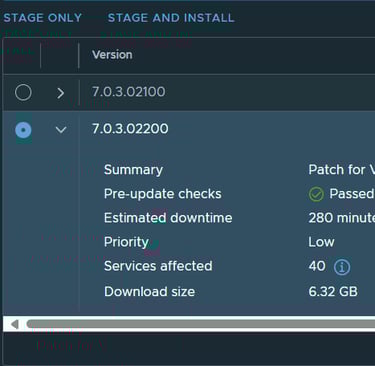
Checking for updates
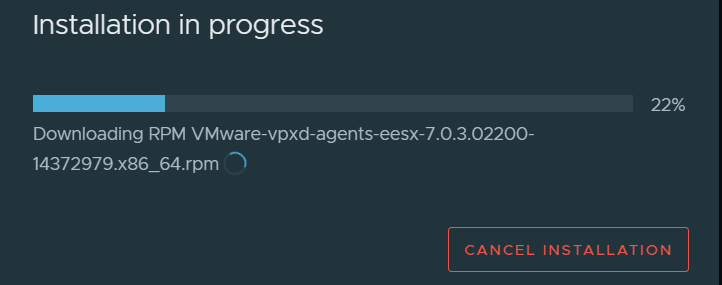
Go to update select the latest version, in our case its 7.0.3.022. Run pre-updates checks and then click stage and install
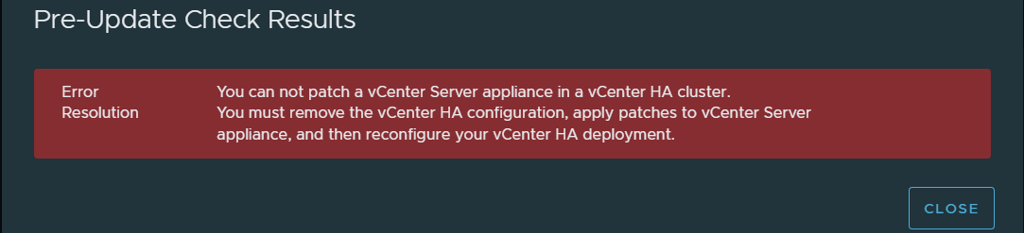
Error messages
Ok, so we got an error message because I have vCenter HA setup and that needs to be disabled before we can patch. To do this we will log into the regular vCenter URL, https://yourvcenter. Once logged in, click on your vCenter name, configure, vCenter HA and then click remove vCenter HA.
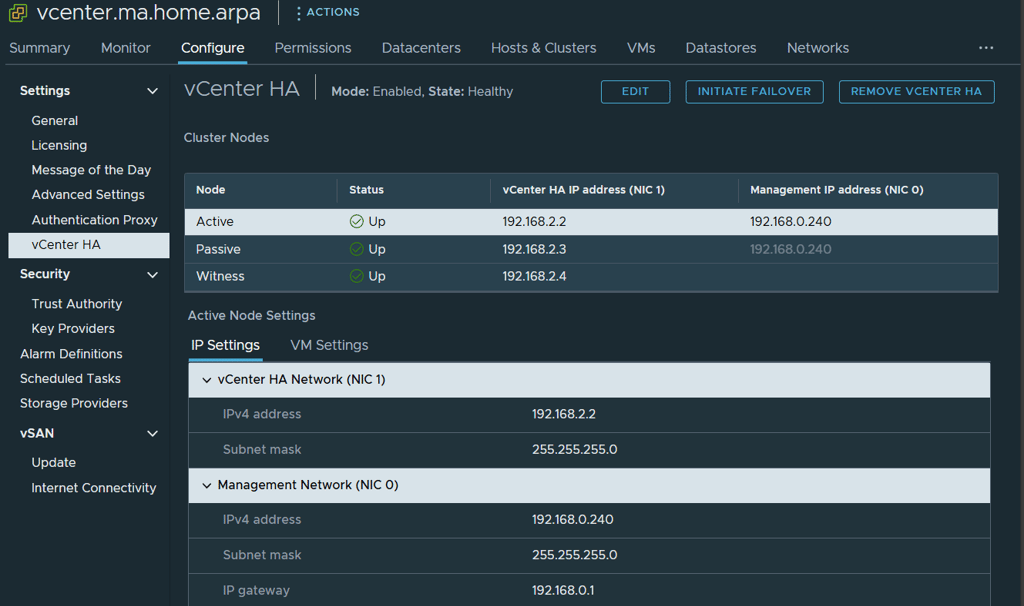
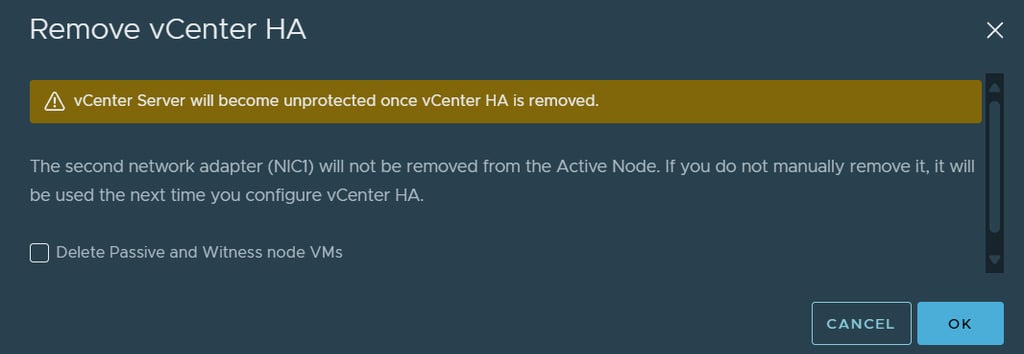
Once HA is removed re-run your pre-upgrade checks and make sure it passes then you can click stage and install.