Debranding Your 14th Gen Dell PowerEdge OEM Server: A Step-by-Step Guide to Restoring It to a Dell Branded R240/R640
3/18/20252 min read
Introduction
If you've recently purchased a 14th gen Dell OEM PowerEdge server and are looking to convert it back to its original Dell branded R240\R640 look, you're in the right place. Unbranding a server might seem like a daunting task, but with the right steps and guidance, you can do it seamlessly. In this blog post, we'll walk you through the process of unbranding your Dell PowerEdge server, restoring its identity as a Dell R240\R640 or 14th Gen PowerEdge Server.
Steps to Unbrand Your Dell PowerEdge Server
Let's dive into the steps you need to follow to restore your Dell OEM PowerEdge server back to a Dell branded R240.
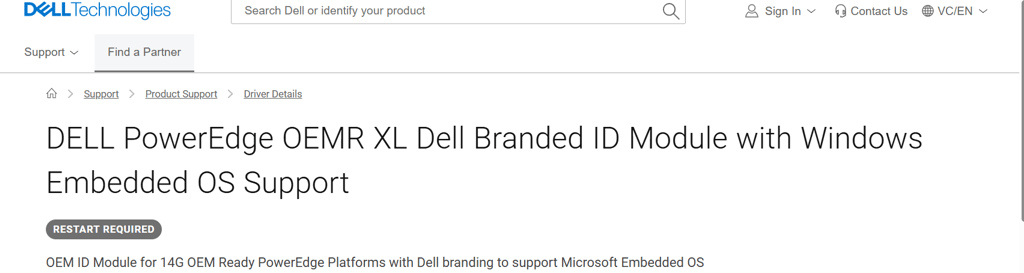
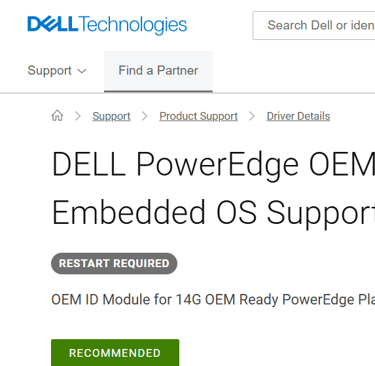
1. Download Dell Branded ID Module: https://www.dell.com/support/home/en-vc/drivers/driversdetails?driverid=4xhvw
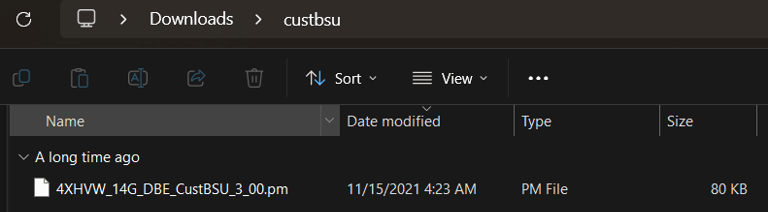
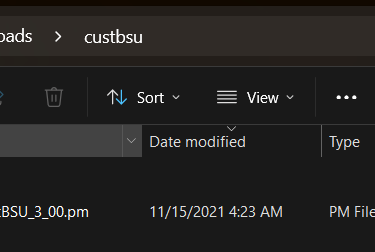
2. Extract file: extract the file named Board Service Utility 4XHVW_14G_DBE_Cust_3_00.exe which will turn it into a .pm file
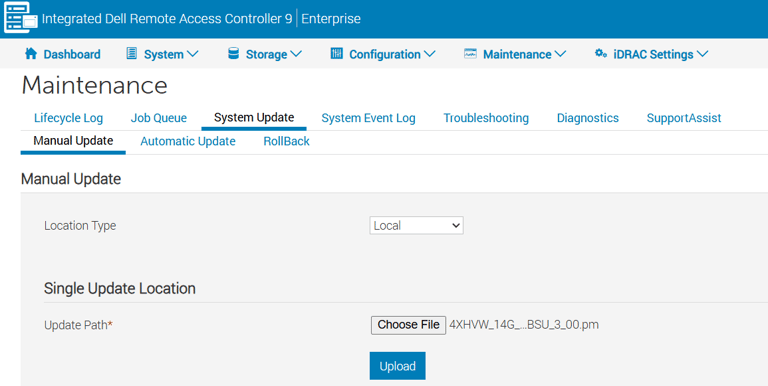
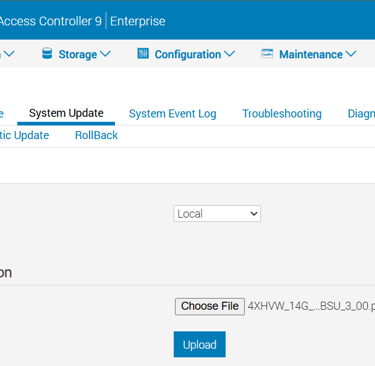
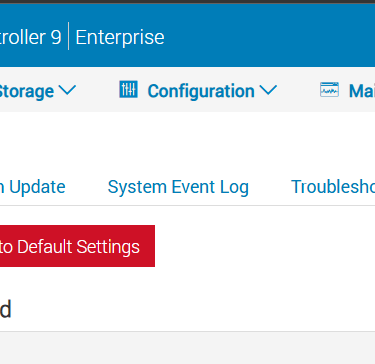
3. Load .pm file into idrac: Now that the .pm is extracted you need to login to idrac -> maintance -> system update -> choose file -> upload .pm
4. Wait for it to complete: Go to the job que wait for it to go to 100%
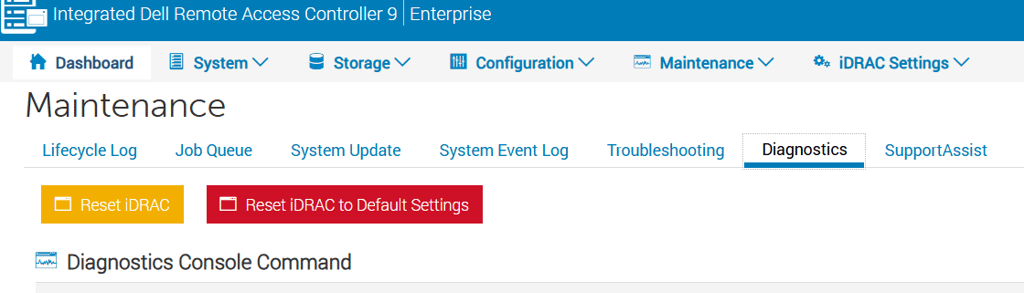
5. Reboot iDRAC: after the job is completed you need to reboot idrac under maintenance -> diagnostics -> reset idrac
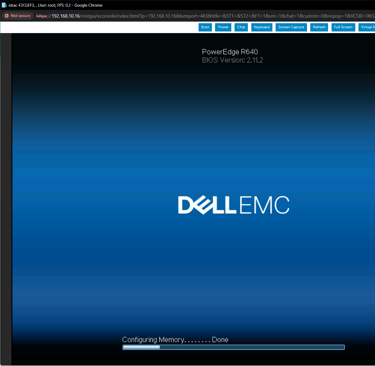
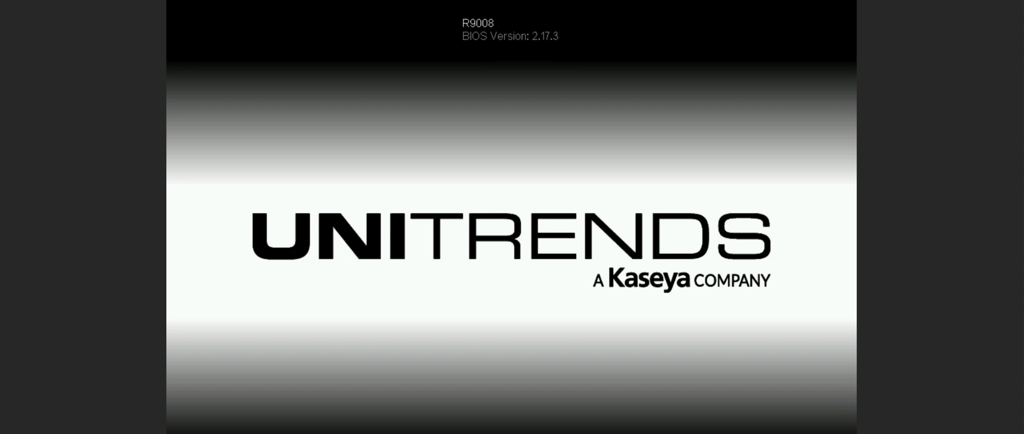
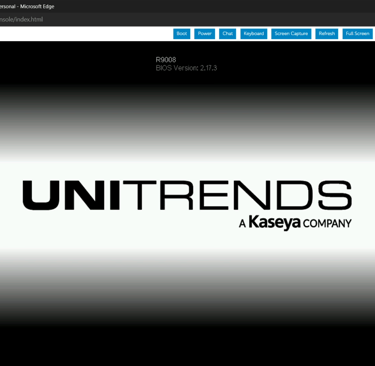
6. Reboot server: After idrac has rebooted you should see the blue dell background in idrac. Now we need to do the same to the servers bios so reboot your server and let it post, then it should automatically go into the life cycle controller and complete the rebranding. After it finishes reboot again to check it should now be recognized as a Dell branded 14th gen PowerEdge Server.
Conclusion